StarTech.com VS222HD4K Manual
StarTech.com
Audio/video-converter
VS222HD4K
Read below 📖 the manual in Italian for StarTech.com VS222HD4K (2 pages) in the Audio/video-converter category. This guide has been helpful for 12 people and has been rated 4.5 stars on average by 2 users
Page 1/2

1. Input selection button for output 1
2. Input selection button for output 2
3. Mode selection switch
4. IR sensor
Quick Install Guide
DE: Bedienungsanleitung - de.startech.com
FR: Guide de l'utilisateur - fr.startech.com
ES: Guía del usuario - es.startech.com
IT: Guida per l'uso - it.startech.com
NL: Gebruiksaanwijzing - nl.startech.com
PT: Guia do usuário - pt.startech.com
Manual Revision: 06/24/2015
For the latest information, technical specications, and support for
this product, please visit www.startech.com/<sku>.
Packaging contents
• 1 x 2x2 HDMI matrix switch
• 1 x remote control
• 1 x universal power adapter (NA/EU/UK/AU)
• 1 x RJ11 cable
• 1 x RJ11 to DB-9 serial adapter
• 1 x quick start guide
System requirements
• 2 x HDMI enabled Video Source Device w/ HDMI cable (i.e. Blu-ray
player, computer, etc.)
• 2 x HDMI enabled Display Device w/ cable (i.e. Television, projector,
etc.)
Operating system requirements are subject to change. For the latest
requirements, please visit www.startech.com/VS222HD4K.
VS222HD4K
2x2 HDMI® matrix switch - 4K
*actual product may vary from photos
Installation
Note: Ensure your HDMI enabled video source devices, and
the HDMI enabled displays are powered o before you begin
installation.
1. Connect two HDMI cables (not included) from each of the HDMI
output ports on your HDMI source devices, to the HDMI input
ports on the HDMI switch.
Notes:Each port is numbered, please take note of which number
is assigned to each HDMI source device.
2. Connect two HDMI cables (not included) from the output ports
on the HDMI Switch to your HDMI displays.
3. Power on your HDMI displays, followed by each of your HDMI
source devices.
4. Connect the included power adapter from an available power
source to the power adapter port on the HDMI switch.
5. (Optional for serial control) Connect the included RJ11 cable to
the RJ11 to DB-9 serial adapter. Then connect the D9 connector to
a 9-pin serial port on your computer system.
6. Your HDMI matrix switch is now ready for operation.
Operation
Automatic operation
The HDMI switch features automatic operation that allows the switch
to automatically select the most recently activated or connected
HDMI source device.
Simply connect a new device or turn on an already connected device
to automatically switch video sources.
Priority operation
The HDMI switch features priority operation which will prioritize port
1 and port 2 respectfully. Select a prioritized Video Input device that
will automatically be selected when a video source is turned on.
Port 1 will automatically be displayed on your display devices while
it is turned on. Turning o the device will automatically switch back
to port 2.
Manual operation
Manual mode enables you to switch between video sources with
push button operation.
Product overview
Front View
Rear View
1. Power adapter port
2. RJ-11 serial jack
3. EDID copy button
4. EDID audio / video selection switch
5. HDMI output ports (out1 and out2)
6. HDMI input ports (in1 and in2)
FCC Compliance Statement
This equipment has been tested and found to comply with the limits for a Class B digital device, pursuant to part 15 of the FCC Rules. These limits are designed to provide reasonable protection against
harmful interference in a residential installation. This equipment generates, uses and can radiate radio frequency energy and, if not installed and used in accordance with the instructions, may cause
harmful interference to radio communications. However, there is no guarantee that interference will not occur in a particular installation. If this equipment does cause harmful interference to radio or
television reception, which can be determined by turning the equipment o and on, the user is encouraged to try to correct the interference by one or more of the following measures:
• Reorient or relocate the receiving antenna.
• Increase the separation between the equipment and receiver.
• Connect the equipment into an outlet on a circuit dierent from that to which the receiver is connected.
• Consult the dealer or an experienced radio/TV technician for help
This device complies with part 15 of the FCC Rules. Operation is subject to the following two conditions: (1) This device may not cause harmful interference, and (2) this device must accept any
interference received, including interference that may cause undesired operation. Changes or modications not expressly approved by StarTech.com could void the user’s authority to operate the
equipment.
Industry Canada Statement
This Class B digital apparatus complies with Canadian ICES-003.
Cet appareil numérique de la classe [B] est conforme à la norme NMB-003 du Canada.
CAN ICES-3 (B)/NMB-3(B)
Use of Trademarks, Registered Trademarks, and other Protected Names and Symbols
This manual may make reference to trademarks, registered trademarks, and other protected names and/or symbols of third-party companies not related in any way to
StarTech.com. Where they occur these references are for illustrative purposes only and do not represent an endorsement of a product or service by StarTech.com, or an endorsement of the product(s)
to which this manual applies by the third-party company in question. Regardless of any direct acknowledgement elsewhere in the body of this document, StarTech.com hereby acknowledges that all
trademarks, registered trademarks, service marks, and other protected names and/or symbols contained in this manual and related documents are the property of their respective holders.
Technical Support
StarTech.com’s lifetime technical support is an integral part of our commitment to provide industry-leading solutions. If you ever need help with your product, visit www.startech.com/support and
access our comprehensive selection of online tools, documentation, and downloads.
For the latest drivers/software, please visit www.startech.com/downloads
Warranty Information
This product is backed by a two year warranty.
StarTech.com warrants its products against defects in materials and workmanship for the periods noted, following the initial date of purchase. During this period, the products may be returned for
repair, or replacement with equivalent products at our discretion. The warranty covers parts and labor costs only. StarTech.com does not warrant its products from defects or damages arising from
misuse, abuse, alteration, or normal wear and tear.
Limitation of Liability
In no event shall the liability of StarTech.com Ltd. and StarTech.com USA LLP (or their ocers, directors, employees or agents) for any damages (whether direct or indirect, special, punitive, incidental,
consequential, or otherwise), loss of prots, loss of business, or any pecuniary loss, arising out of or related to the use of the product exceed the actual price paid for the product. Some states do not
allow the exclusion or limitation of incidental or consequential damages. If such laws apply, the limitations or exclusions contained in this statement may not apply to you.
Manual operation with selection button
Press the input Selection button, on the front of the switch to toggle
between each video source device.
The active port LED indicator will light as video sources are switched,
indicating which port is selected.
Manual operation with remote control
Press 1 or 2 on the remote control to switch between HDMI ports in1
or in2 respectively on output port 1 (out 1).
Press S1 or S2 on the remote control to switch between HDMI ports
in1 or in2 respectively on output port 2 (out 2).
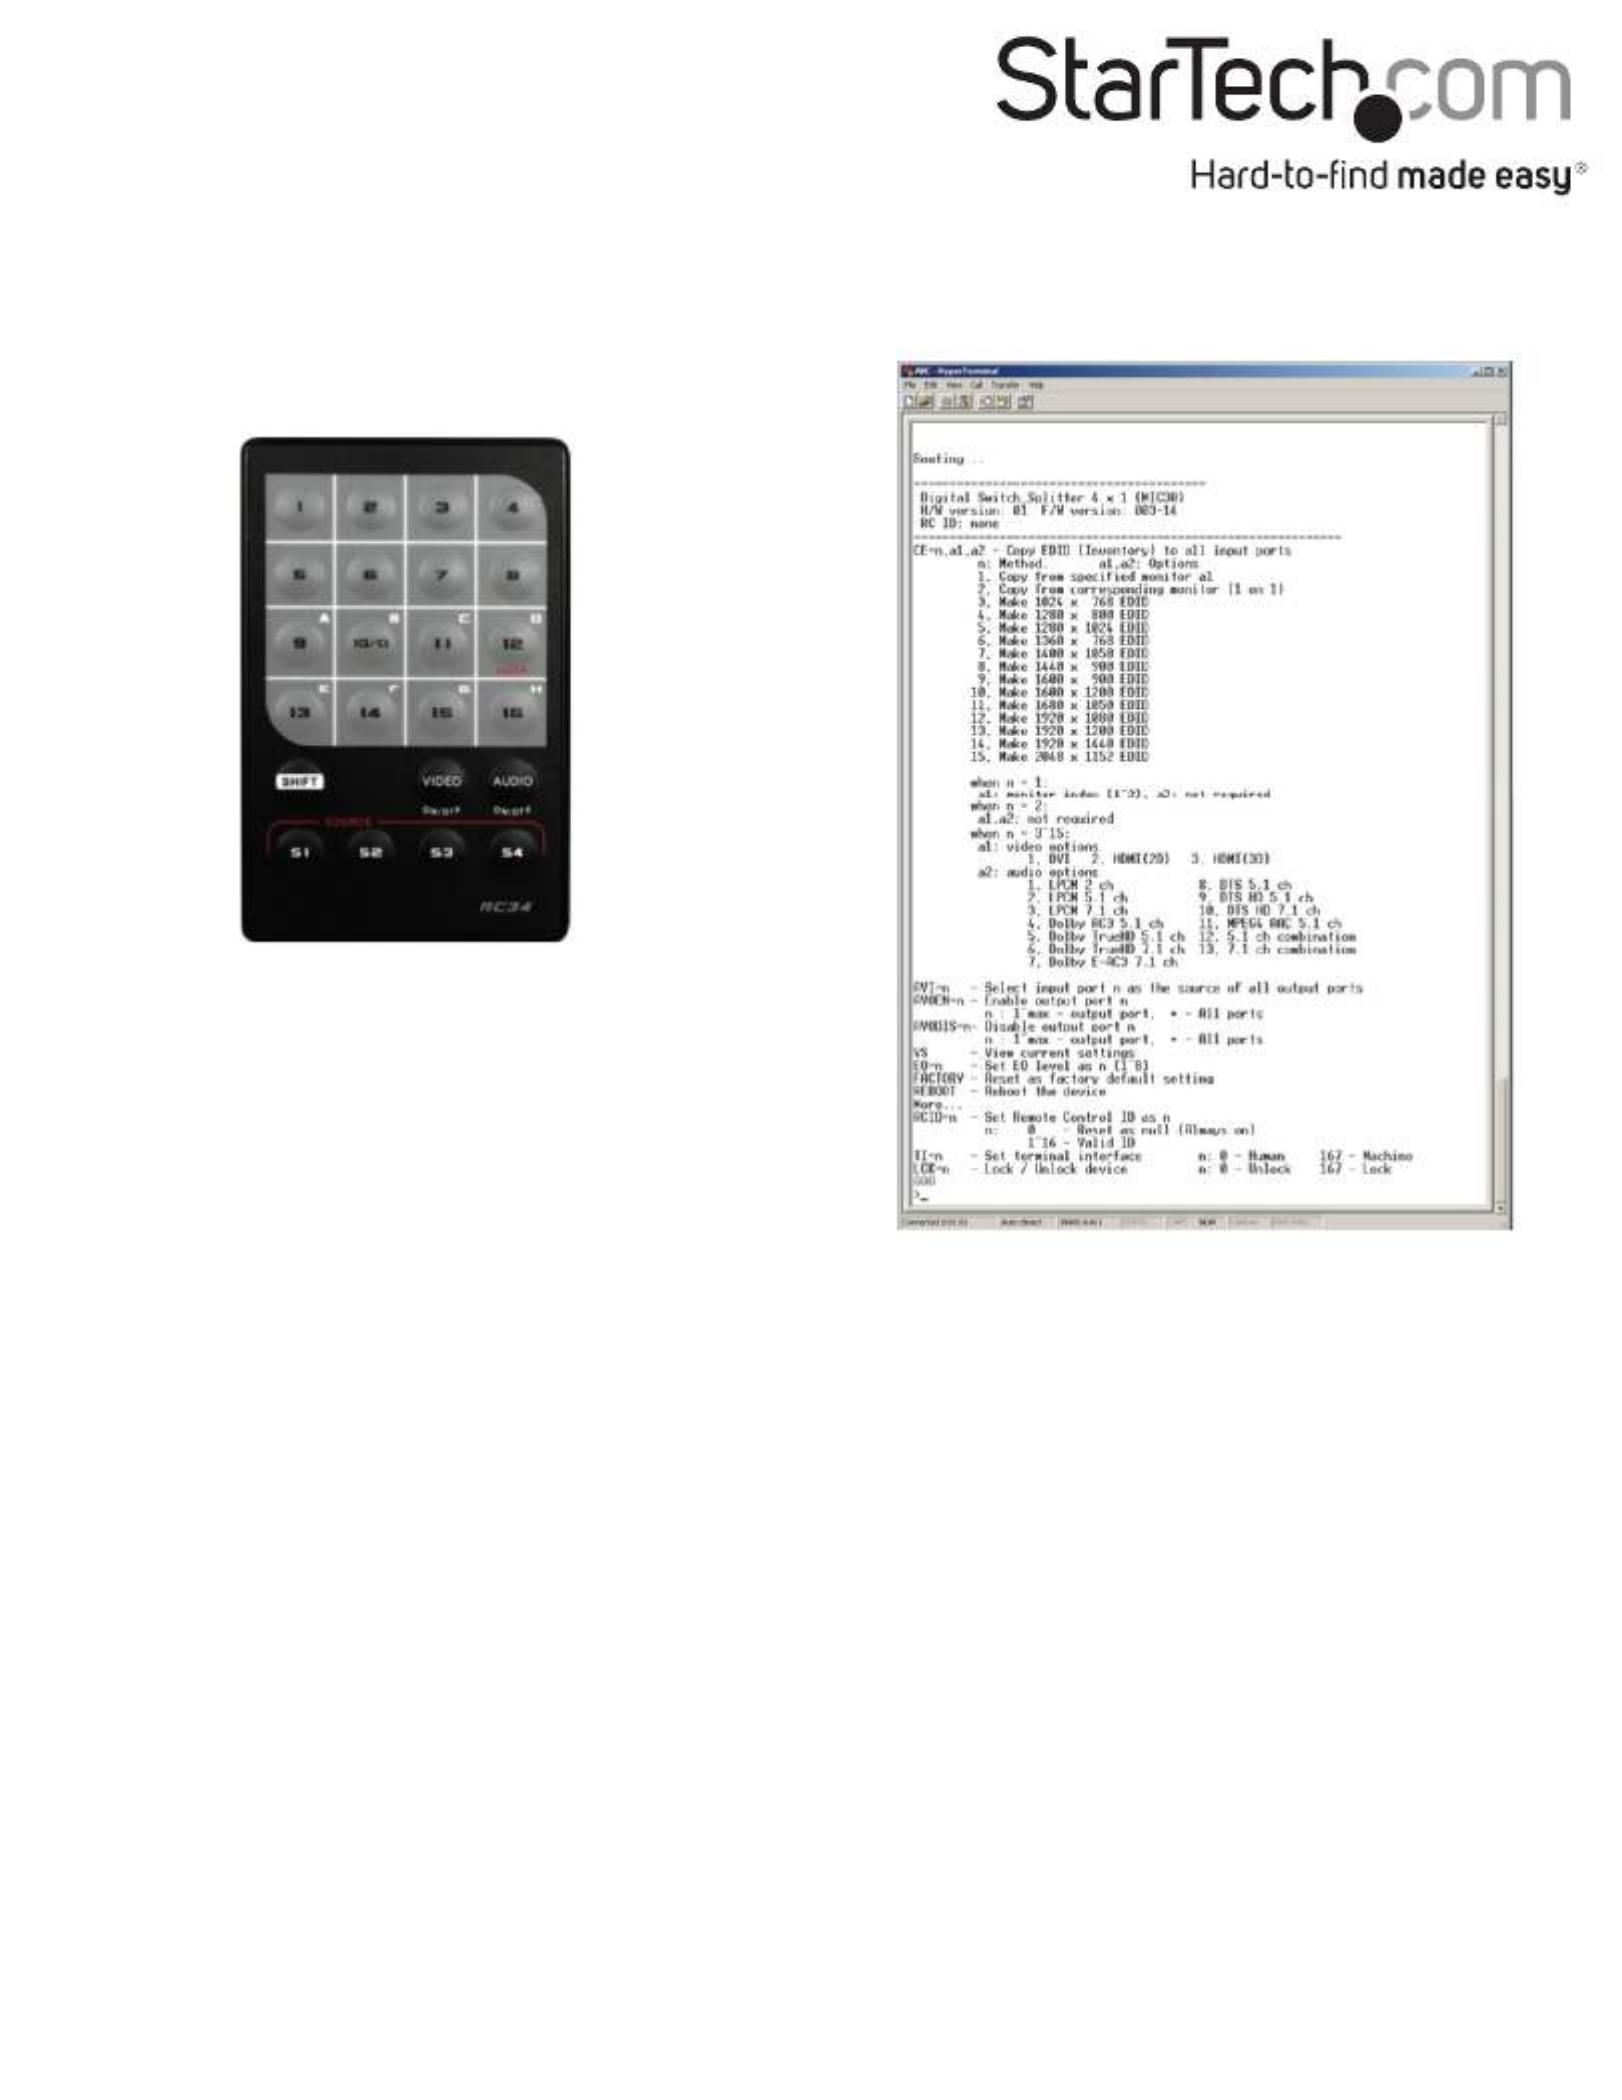
Manual operation with serial control
1. Congure the settings on your serial port the below conguration:
Baud Rate: 38400 bps
Data Bits: 8
Parity: None
Stop Bits: 1
Flow Control: None
2. Open your terminal software to communicate through the serial
port that the switch is connected to, and use the on-screen
commands displayed to operate and congure your switch.
Product Specifications
| Brand: | StarTech.com |
| Category: | Audio/video-converter |
| Model: | VS222HD4K |
Do you need help?
If you need help with StarTech.com VS222HD4K, ask a question below and other users will answer you
Audio/video-converter StarTech.com User Manuals

25 October 2024
13 October 2024
13 October 2024
13 October 2024
13 October 2024
13 October 2024
13 October 2024
13 October 2024
13 October 2024
13 October 2024
Audio/video-converter User Manuals
- Audio/video-converter TP Link
- Audio/video-converter D-Link
- Audio/video-converter Extron
- Audio/video-converter AudioControl
- Audio/video-converter Smart-AVI
- Audio/video-converter Planet
- Audio/video-converter Sitecom
- Audio/video-converter A-NeuVideo
- Audio/video-converter Atlona
- Audio/video-converter FoneStar
- Audio/video-converter Antelope Audio
- Audio/video-converter Vizio
- Audio/video-converter Rocstor
- Audio/video-converter INOGENI
- Audio/video-converter RME
- Audio/video-converter MuxLab
- Audio/video-converter Evolution
- Audio/video-converter PureLink
- Audio/video-converter ATen
- Audio/video-converter Blustream
- Audio/video-converter Trendnet
- Audio/video-converter Intellinet
- Audio/video-converter WyreStorm
- Audio/video-converter Key Digital
- Audio/video-converter Sescom
- Audio/video-converter Gefen
- Audio/video-converter ShieldRock
- Audio/video-converter Data-Tronix
- Audio/video-converter Digitalinx
- Audio/video-converter Intelix
- Audio/video-converter Comprehensive
- Audio/video-converter Ocean Matrix
- Audio/video-converter AVPro Edge
- Audio/video-converter Sabrent
- Audio/video-converter FSR
- Audio/video-converter PulseAudio
- Audio/video-converter Audison
- Audio/video-converter Spatz
- Audio/video-converter PTN-electronics
Latest Audio/video-converter User Manuals
27 October 2024
24 October 2024
24 October 2024
24 October 2024
23 October 2024
23 October 2024
23 October 2024
23 October 2024
21 October 2024
21 October 2024